English
 中文简体
中文简体
 русский
 Español
[Auto Accessories][email protected]
2026-05-06
Content
Before reaching for any repair product, it is essential to understand exactly what part of your auto side mirror has been scratched and how deep the damage goes. Treating the wrong surface with the wrong method can make the problem worse — or permanently cloud a mirror that could have been polished back to clarity.
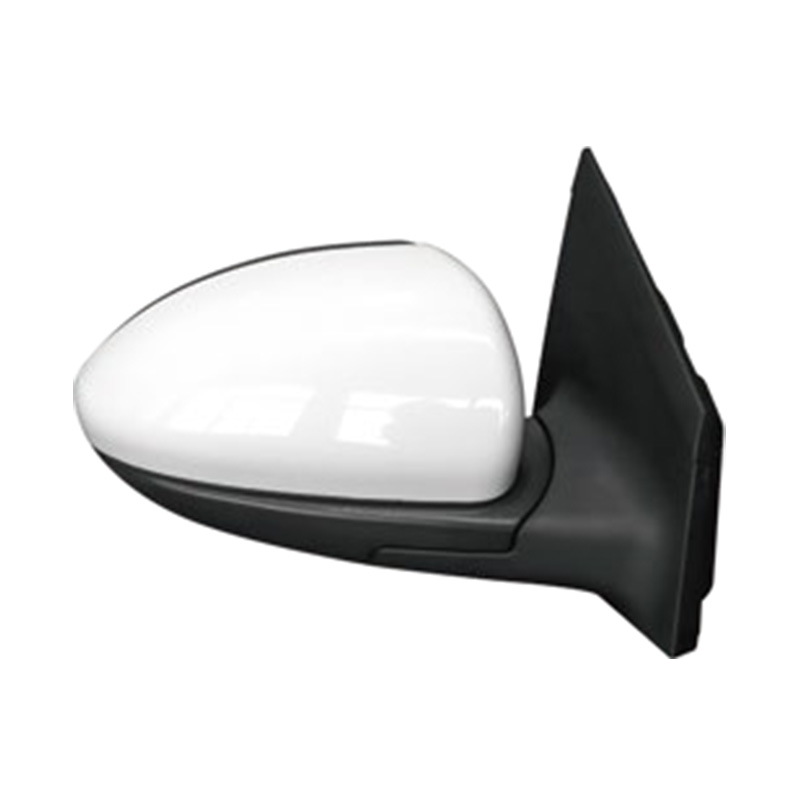
A side mirror has two distinct surfaces that can be scratched: the reflective glass face and the plastic housing that surrounds it. Glass and plastic respond very differently to abrasives and polishing compounds. Glass is harder and requires specific products like cerium oxide to cut effectively, while plastic is softer and can be scratched further by compounds designed for glass. Knowing what auto side mirrors are made of helps you choose the right repair approach from the start.
Once you have identified the surface, assess the scratch depth using the fingernail test. Run your fingernail lightly across the scratch at a perpendicular angle. If your nail glides over the mark without catching, it is a surface-level scratch that sits within the outermost coating and can almost certainly be polished out at home. If your nail catches or drops into the groove, the scratch penetrates deeper into the glass or plastic body and will require more aggressive treatment — or professional help.
Also check the scratch under direct light at a low angle. If the surrounding area appears hazy, discolored, or shows rainbow-like distortion, the reflective backing behind the glass may be compromised. Damage to the silvering or mirror coating cannot be repaired by surface polishing and typically means the mirror glass needs replacement.
Having the right supplies prepared before you start prevents mid-project trips to the store and reduces the risk of making the scratch worse with an improvised substitute. The materials you need depend on the severity of the damage.
For light surface scratches on glass, gather: a microfiber cloth or felt polishing pad, white non-gel toothpaste or a baking soda paste, and optionally a cerium oxide glass polishing compound mixed with water. A clean spray bottle with water and a second dry microfiber cloth for buffing are also useful.
For moderate scratches on plastic housing, you will need: 1500-grit and 2000-grit wet-dry sandpaper, an automotive plastic polishing compound, a foam applicator pad, and a finishing wax or plastic sealant. Masking tape is helpful to protect adjacent painted surfaces during sanding.
For deep scratches on either surface, add: a automotive scratch filler or spot putty, a plastic spreader or putty knife, 1000-grit sandpaper for initial leveling, and a two-stage polishing system (cutting compound followed by finishing polish). Protective gloves and eye protection are recommended when using chemical compounds.
In all cases, start with a clean surface. Washing the mirror with mild soap and water, then drying it completely with a microfiber cloth, removes grit that could deepen the scratch during the repair process.
Light scratches on mirror glass — those that pass the fingernail test — respond well to mild abrasive polishing. Work in a shaded area or indoors if possible, as direct sunlight causes compounds to dry too quickly and streak.
Apply a small pea-sized amount of plain white toothpaste (not gel) to a damp microfiber cloth or felt pad. Using gentle circular motions, rub the toothpaste over the scratched area for 20 to 30 seconds. The mild abrasive in toothpaste is enough to level very fine surface marks. Wipe the residue away with a clean damp cloth and inspect the result under light. Repeat up to three times if the scratch is still visible, but stop if there is no improvement after the third pass — additional rubbing will not help and risks hazing the surrounding glass.
Mix equal parts baking soda and water to form a thick paste. Apply it to the scratch with a soft cloth using the same circular motion technique. Baking soda is slightly more abrasive than toothpaste and works well on scratches that are just visible enough to catch the light but not deep enough to catch a fingernail. Rinse thoroughly and dry with a clean cloth after each pass.
For scratches that resist toothpaste or baking soda, cerium oxide glass polish is the most effective DIY solution. Mix the powder with water to form a slurry roughly the consistency of thick cream. Apply a generous amount to a felt polishing pad and work it over the scratch using firm, overlapping circular strokes for two to three minutes. Keep the surface damp throughout — cerium oxide works through a chemical-mechanical action that requires moisture. Wipe away the residue with a clean damp cloth and inspect. This method can remove scratches that most other products cannot touch, but it requires patience and some physical effort to achieve results on harder glass surfaces.
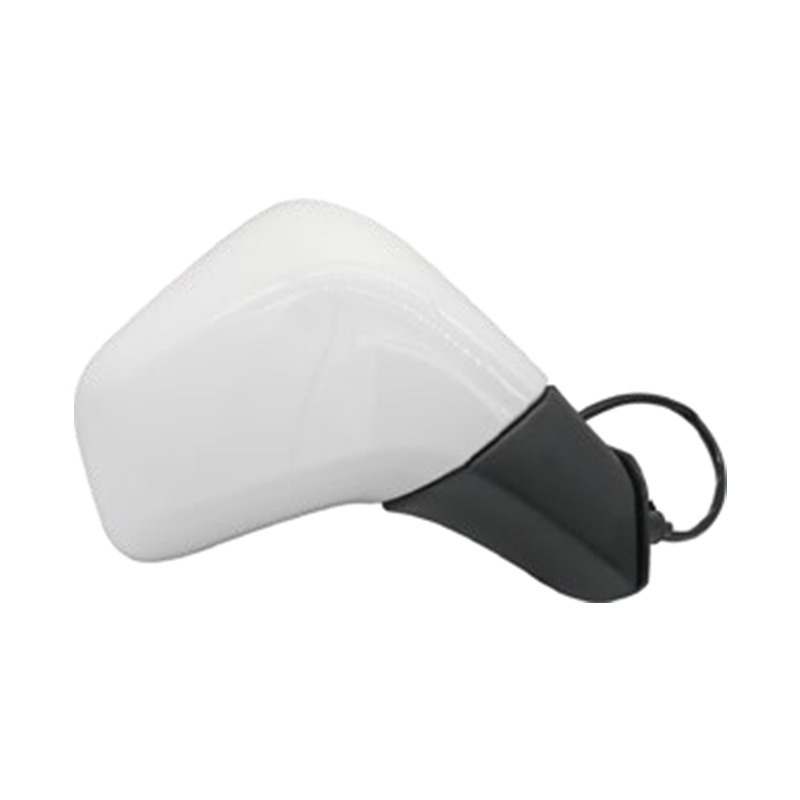
The plastic housing surrounding the mirror glass is far more susceptible to scratching than the glass itself — and more forgiving to repair, since plastic is softer and responds quickly to abrasive polishing. However, it requires a different approach than glass.
Deep scratches — those where your fingernail catches clearly in the groove — require more material removal to level the surface, which increases the risk of over-sanding or permanently distorting the mirror if done without experience.
For deep scratches on the plastic housing, a spot putty or automotive scratch filler can bridge the gap before sanding and polishing. Apply the filler sparingly with a plastic spreader, drawing it across the scratch at a 45-degree angle to fill the groove without building up excess material. Allow it to cure fully according to the product instructions — usually 20 to 30 minutes. Once cured, sand starting with 1000-grit paper, progressing through 1500- and 2000-grit, then polish as described in the previous section.
For deep scratches on mirror glass, the honest answer is that most DIY methods are ineffective. Glass is extremely hard, and cutting deep enough to level a significant scratch requires either a rotary polisher with a felt pad running at sustained speed or professional glass polishing equipment. Attempting this with hand pressure alone typically produces uneven results and risks creating localized flat spots that distort the reflection. If the scratch on the glass face is deep enough to catch a fingernail and affects your visibility, replacing the mirror glass is usually faster, cheaper, and more reliable than attempting a prolonged polishing campaign.
Clear nail polish can serve as a temporary cosmetic fix for deep glass scratches that you plan to address later: clean and dry the area, apply one thin coat directly into the scratch groove, allow it to cure for one hour, then gently wipe the excess from the surrounding surface with a cloth barely dampened with nail polish remover. This does not repair the scratch but reduces the visual contrast until a proper solution is arranged.
Once the repair is complete, protecting the surface prevents new scratches from forming and keeps the mirror looking clean between maintenance sessions. Referring to proper habits outlined in our guide on how to clean the auto side mirror is a good starting point for an ongoing care routine.
Apply a protective wax or sealant to both the glass face and the plastic housing after every repair and every few months as part of routine care. On glass, a thin coat of carnauba wax or a dedicated glass sealant creates a hydrophobic barrier that causes water to bead and roll off, reducing the abrasive effect of water droplets carrying road grit. On plastic housings, a UV-resistant plastic protectant prevents the material from oxidizing and becoming brittle — oxidized plastic is significantly more prone to scratching than well-maintained surfaces.
Self-adhesive protective film (paint protection film or PPF cut to mirror size) is the most durable long-term solution for vehicles that frequently park in tight spaces, wooded areas, or environments where mirror contact with branches or other vehicles is common. The film absorbs minor impacts and surface abrasion without transferring damage to the mirror itself and can be replaced when worn without any risk to the underlying surface.
When washing your vehicle, always use a dedicated microfiber mitt rather than a sponge or cloth that may trap grit from a previous pass over a dirtier panel. Wash the mirrors last, or with a separate mitt, to avoid dragging accumulated particles across the glass surface.
Not every scratched mirror is worth repairing. Knowing when to stop investing time and materials in a DIY fix — and simply order a replacement — saves frustration and ensures your mirrors are performing their primary safety function correctly.
Replace the mirror glass (or the complete mirror assembly) when any of the following conditions apply. First, if the reflective backing shows dark spots, silver hazing, or delamination around the scratched area, the mirror coating has been compromised. No surface polishing will restore reflectivity once the metallic layer is damaged. Second, if the glass has developed a visible crack or chip — even a small one — the structural integrity of the glass is at risk. Cracks propagate over time from vibration and temperature changes. Third, if repeated polishing attempts have produced a visible flat spot or distortion in the reflection, the glass surface geometry has been altered and the mirror is no longer providing accurate spatial information about the traffic behind you.
From a practical standpoint, a replacement mirror glass for most common vehicle makes costs between $15 and $60 for the glass element alone, making replacement a financially sensible choice whenever the repair effort starts to feel disproportionate to the result. For guidance on selecting a compatible replacement and understanding your options across mirror types, our auto side mirror types and maintenance guide provides a detailed overview of what to look for when sourcing a new unit.
Maintaining clear, undistorted side mirrors is not just a cosmetic concern — it is a direct safety requirement. A scratched mirror that reduces visibility at a critical moment during a lane change or reverse maneuver eliminates the protection the mirror was designed to provide. When in doubt, replace.

[Auto Accessories][email protected]
[Auto Parts][email protected]

+86-0571-26238568

Kangxin Road, Tangqi Town, Linping District, Hangzhou , Zhejiang , China