English
 中文简体
中文简体
 русский
 Español
[Auto Accessories][email protected]
2026-05-25
Windshields crack during rear view mirror mount removal more often than most people expect — and almost always for the same reasons: wrong tools, wrong temperature, or too much force applied in the wrong direction. The removal itself isn't technically difficult. The challenge is doing it without turning a 20-minute job into a windshield replacement.
Content
The adhesive that bonds a mirror mount button to a windshield is engineered to be extremely strong — strong enough to hold a mirror steady at highway speeds through vibration, heat, and cold cycling. That same bond, applied to tempered or laminated glass, means that any removal attempt applying concentrated force in the wrong spot creates a stress point. And glass, unlike metal, doesn't bend before it breaks.
Beyond the glass itself, modern mirrors often carry wiring for auto-dimming, compass sensors, or integrated cameras. Pulling the assembly without disconnecting power first risks damaging the electronics or triggering fault codes that require a dealer reset. Two minutes of prep prevents both outcomes.
Start with the electrical system. Disconnect the vehicle's negative battery terminal, or at minimum unplug the mirror's wiring harness connector before applying any force to the assembly. The connector is usually accessible by gently pulling back the headliner fabric near the top of the windshield — it snaps out with finger pressure on the release tab.
Next, check the ambient temperature. Adhesive bonds become significantly more brittle below 50°F (10°C). If you're working in a cold garage or outdoors in winter, bring the vehicle inside and let it warm to room temperature for at least an hour before starting. Attempting removal on a cold windshield dramatically increases the risk of cracking — the glass itself contracts, and the adhesive loses its flexibility entirely.
Finally, select your tools deliberately. Plastic trim tools are the default choice for anything that touches the windshield. If you only have metal putty knives, wrap the blade edge with several layers of masking tape. A scratched windshield is a minor problem; a chipped edge near the mount is a crack waiting to propagate.
Before attempting to remove the mount itself from the glass, separate the mirror head from its bracket. Working with just the bracket — rather than the full mirror assembly — removes the weight and leverage that can transmit force unpredictably to the glass below.
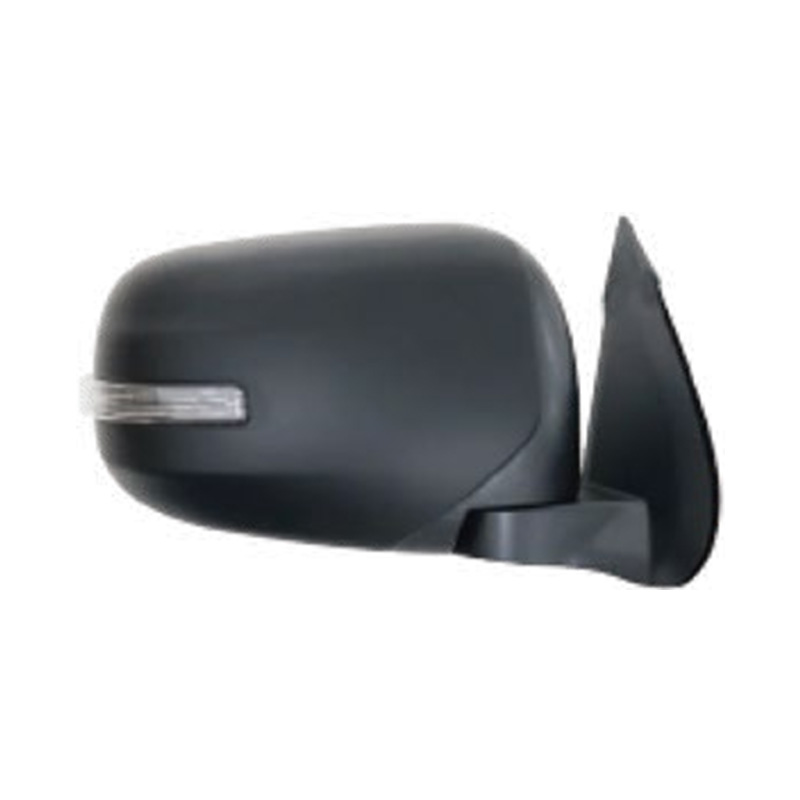
On clip-on style mounts, the mirror slides upward or rotates a quarter-turn to release from the button. Look for a small set screw on the underside or back of the housing near the base — loosen it with an Allen wrench before attempting to slide the mirror off. On screw-fixed brackets, back out all fasteners fully while supporting the mirror with your free hand.
Once the mirror head is free, set it somewhere safe. You're now working with a much smaller, lighter bracket or button, which gives you far more control over the force and direction of removal.
This is where technique matters most. The goal is to break the adhesive bond progressively — never all at once with a single hard pull.
Apply heat first, always. Hold a heat gun or hair dryer 2 to 3 inches from the button and move it in small circles for 60 to 90 seconds. You're targeting the adhesive layer behind the glass, not the button itself. The glass should feel warm but not uncomfortable to touch. If it's too hot to hold your hand near, you've overheated it — stop and let it cool for two minutes before continuing.
Insert your plastic trim tool between the button base and the glass at the edge — not the center. Apply slow, steady inward pressure while rocking the tool gently from side to side. The adhesive will begin to release incrementally around the perimeter. Work your way around all four sides of the button before attempting to lift it.
When the bond feels uniformly loose, apply a gentle twisting motion to the button while pulling it straight away from the glass — perpendicular to the windshield surface. Pulling at an angle concentrates stress at a single point, which is exactly what you're trying to avoid. If the button still feels firmly attached after working all sides, apply another 30 seconds of heat and repeat — do not increase force.
For screw-fixed base plates, the same heat-and-patience approach applies once the screws are out. The base plate is usually larger than a button and may require working a longer tool edge across the bottom before it releases.
After the mount is off, the glass surface needs to be completely clean and chemically neutral before any new adhesive goes on. Skipping this step is the leading cause of mirror mounts falling off again within weeks of reinstallation.
While the glass is still warm from the heat gun, use a fresh single-edge razor blade held nearly flat — at roughly 10 to 15 degrees — to scrape off the bulk of the adhesive residue. Short, controlled strokes work better than long sweeping ones. Replace the blade if it starts dragging rather than gliding; a dull blade requires more pressure and increases scratch risk.
Once the visible residue is gone, wipe the area thoroughly with a microfiber cloth saturated with isopropyl alcohol at 90% concentration or higher. Use circular motions and replace the cloth section as it picks up adhesive. Repeat until a clean cloth comes away with no discoloration. Mark the button position on the outside of the windshield with a grease pencil before final cleaning — it's easy to lose the exact location once the old button is gone.
Let the cleaned area air-dry for a minimum of 15 minutes at room temperature before applying any new mirror adhesive. Residual alcohol that hasn't fully evaporated will compromise the new bond.
Most windshield damage and mount failures trace back to a short list of repeatable errors:
Once the mount is cleanly removed and the glass is prepped, the next decision is whether to reinstall the existing mirror or replace the assembly entirely. If the reason for removal was a damaged housing, failed motor, or broken glass element, replacement is the practical choice.
Matching the replacement to your vehicle requires more than just the model name — trim level matters because features like heating elements, integrated turn signal repeaters, blind spot indicators, and power folding mechanisms vary within the same model year. An assembly without the right connector type won't plug in, and one missing the heating element won't clear frost.
For Ford vehicles, Ford side mirror replacements are available matched by model and feature set. Nissan owners can browse Nissan side mirror assemblies with OE-compatible specifications. If you drive a Hyundai or Kia, Hyundai and Kia replacement side mirrors cover the current and recent model lineup. The complete auto side mirror catalog lists all available makes for straightforward cross-referencing by vehicle.

[Auto Accessories][email protected]
[Auto Parts][email protected]

+86-0571-26238568

Kangxin Road, Tangqi Town, Linping District, Hangzhou , Zhejiang , China