English
 中文简体
中文简体
 русский
 Español
[Auto Accessories][email protected]
2026-06-01
A side mirror takes a hit from a parking garage pillar, or the mounting button on your rearview mirror lets go on a hot afternoon — and suddenly you're driving with a blind spot or a mirror dangling from its wire. Before you call a shop, understand what you're actually dealing with. The right mirror fix kit can have you back on the road in under an hour. The wrong one wastes your money and leaves the problem unsolved.
Content
The first decision isn't which kit to buy — it's whether a kit is the right answer at all. Mirror damage falls into three distinct categories, and each one calls for a different approach.
Mounting failure is the most common and the most fixable. This is when the mirror glass and housing are intact, but the bracket or button has separated from the windshield or door panel. An adhesive fix kit handles this cleanly, costs under $15, and takes about 30 minutes including cure time.
Glass-only damage — a cracked or shattered mirror face while the housing and motor remain functional — is also repairable. Replacement mirror glass for most makes and models is available as a standalone part, often with the same heating element and auto-dimming film already laminated in. If the housing clicks, folds, and adjusts normally, replacing just the glass is the smart move.
Housing or structural damage changes the calculation. A cracked plastic shell, a broken pivot assembly, or a motor that no longer responds means the internal components are compromised. At that point, a fix kit addresses the symptom but not the underlying failure, and the repair rarely holds up through a season of temperature swings and car washes.
Check the housing for cracks before buying anything. Press the mirror against its mount and test the adjustment mechanism. If both pass, you're in kit territory. If either fails, scroll to the replacement section first.
Mirror fix kits aren't interchangeable. The packaging may look similar, but the chemistry and application method are designed for specific failure types.
Adhesive mounting kits are two-part systems: a surface activator (usually a cleaner-primer towelette) and a specialized adhesive, often cyanoacrylate-based or a two-component epoxy formulated for glass-to-metal bonding. These are used to re-bond a metal mounting button to a windshield, or to reattach a mirror bracket to a painted door surface. They achieve handling strength in seconds and full mounting strength within 20–30 minutes. Temperature matters with these — most manufacturers specify application between 50°F and 75°F (10°C to 24°C). Too cold and the adhesive won't cure properly; too hot and it sets before you've positioned the part correctly.
Glass replacement kits bundle the mirror glass itself with the installation hardware — typically a set of plastic pry tools, adhesive pads or mounting clips, and sometimes a heat gun or instructions to use a hair dryer to soften the factory adhesive holding the old glass in place. For heated mirrors, the kit should also include a wiring harness adapter or a set of contact pins that reconnect the heating element. Kits without these connectors for heated mirrors are a common source of buyer frustration.
Housing repair compounds are plastic-bonding adhesives or two-part epoxy putties designed to fill cracks in ABS or polypropylene mirror shells. These work for cosmetic repairs on non-structural areas of the housing — a crack along the edge that doesn't affect the mirror pivot, for example. They're limited, though. Structural cracks near the pivot point or the motor mount will flex under load and re-crack within weeks.
Adhesive kits follow the same sequence regardless of brand. The variables are cure time and whether the kit includes a replacement metal tab or asks you to reuse the original. Here's the process that works consistently:
Replacing side mirror glass is more involved than an adhesive repair, but still well within DIY range if the kit is complete. Before buying, confirm the kit includes or you have access to the following:
Most mirror fix kit failures come down to a few repeatable errors. Knowing them in advance saves a second trip to the parts store.
Skipping surface prep. Adhesive bond strength is almost entirely dependent on surface cleanliness. Oil from fingerprints, residue from old adhesive, or dust left on the bonding surface drops bond strength dramatically. Use the included activator towelette and don't touch the surface afterward.
Wrong temperature. Applying adhesive outside the recommended temperature window — below 50°F or above 80°F surface temperature — causes either incomplete cure or unpredictable set times. This is the most common reason repairs fail within days. Check surface temperature, not just ambient air temperature. A windshield sitting in summer sun can reach 140°F even when air temperature is only 85°F.
Reusing a corroded or contaminated mounting tab. If the original metal tab has rust, paint contamination, or residue that won't sand off cleanly, replace it. Many kits include a new tab for exactly this reason. A fresh tab with a clean surface outperforms a compromised original every time.
Loading the mirror too soon. Attaching the mirror to the bracket before the adhesive has reached full cure strength transfers shear load before the bond is ready. The mount may seem solid but will separate within days. Wait the full cure window even when handling strength appears immediate.
Using the wrong kit for the substrate. Adhesive kits designed for metal-to-glass bonding do not perform the same way on plastic-to-plastic or plastic-to-paint surfaces. Check the kit's intended substrates before applying.
A fix kit is the right answer for isolated, contained damage. Several scenarios tip the decision firmly toward full assembly replacement.
Integrated electronics. Modern side mirrors often carry blind-spot monitoring sensors, turn signal repeaters, auto-dimming glass, and memory-position motors. When the housing is cracked or the pivot is damaged, these systems are almost certainly affected. Attempting a housing repair while these components remain in place risks damaging sensors that require dealer recalibration to restore function — a cost that easily exceeds a replacement assembly.
Structural pivot damage. The pivot point in a power-folding mirror is a precision mechanism. A fractured pivot doesn't just look bad — it allows the mirror to vibrate at highway speed, making accurate adjustment impossible and creating a safety problem.
Repeated repair failures. If the same adhesive repair has failed twice, the underlying surface — whether windshield glass, door sheet metal, or primer coat — has a contamination or porosity issue that surface prep alone won't resolve. Replacement bypasses the problem entirely.
It's worth noting that under Federal Motor Vehicle Safety Standard No. 111 governing rearview mirror performance, exterior mirrors must provide specific field-of-view coverage and stable mounting. A compromised housing that allows mirror vibration or misalignment isn't just inconvenient — it may affect compliance with these federal visibility standards.
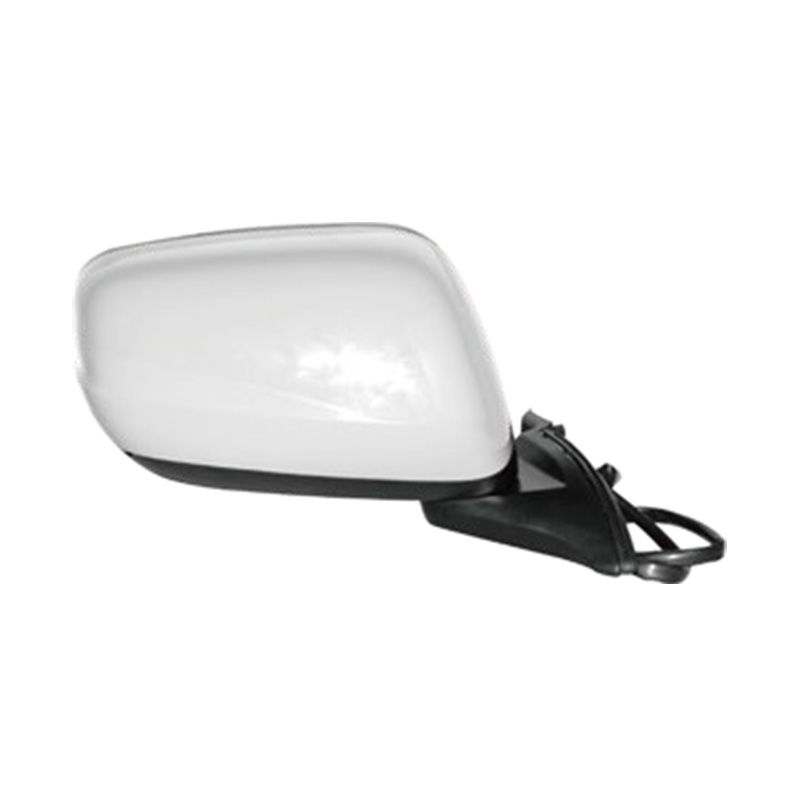
When replacement is the right call, matching the assembly to your specific vehicle is non-negotiable. Mirror housings are engineered for each platform — the mounting points, wiring connectors, and fold geometry differ between models even within the same brand family. Vehicle-specific Toyota side mirror replacement assemblies, Honda side mirror assemblies, and Nissan side mirror options ensure correct fitment without adapter modifications. For a full range of makes and models, the complete auto side mirror catalog covers OEM-matched assemblies across Asian, European, and domestic vehicle lines.

[Auto Accessories][email protected]
[Auto Parts][email protected]

+86-0571-26238568

Kangxin Road, Tangqi Town, Linping District, Hangzhou , Zhejiang , China