English
 中文简体
中文简体
 русский
 Español
[Auto Accessories][email protected]
2026-05-19
A rear view mirror mount that's fallen off, cracked, or simply in the way of a new installation doesn't require a trip to the shop. Removing it yourself takes under 30 minutes — but only if you know which type of mount you're dealing with and approach it the right way. Rushing the process is how windshields crack.
Content
There are a handful of situations where pulling the mount is the right call. The most common: the adhesive button has separated from the glass and the mirror is dangling by its wiring, or the mount itself has broken and the mirror no longer holds a position. Both require a clean removal before anything can be reinstalled correctly.
Other common triggers include upgrading to a dash cam or smart mirror that requires a different bracket, replacing a damaged mirror assembly after a collision, or preparing the windshield for professional repair where the glass technician needs a clear work area. In each case, the removal process is the same — what changes is how carefully you need to preserve the button or bracket for reuse.
Gather everything before you start. Stopping mid-process to hunt for a tool is how mistakes happen.
One thing worth skipping: WD-40 or general-purpose lubricants. They leave an oily film on the glass that interferes with any new adhesive you apply later.
Rear view mirror mounts fall into three main categories, and the removal method differs for each. Misidentifying the type and applying the wrong technique is a fast way to crack the glass or strip a fitting.
Clip-on or slide-on mounts attach to a metal or plastic button that's permanently glued to the windshield. The mirror housing clips or slides onto this button and is held by spring tension or a small set screw. These are the most common type on modern vehicles. The mirror separates from the button easily; the button itself stays on the glass.
Screw-fixed mounts use one or more screws — often Allen-head — to lock the mirror bracket to a base plate bonded to the windshield. Common on older vehicles and some commercial models. The screws must be fully removed before the bracket will release.
Fully glued mounts bond the entire bracket base directly to the glass with rearview mirror adhesive. Less common, but found on some imports and aftermarket installations. These require heat and careful prying to remove without stressing the glass.
To identify your type: look for a visible screw or hex bolt near the base of the mirror where it meets the windshield. If there's none, try gently sliding the mirror upward — clip-on types release with a short upward push or a twist. If the base doesn't move at all and there are no fasteners visible, you likely have a fully glued mount.
At this point the mirror assembly is free. The adhesive button bonded to the windshield glass typically stays in place and doesn't need to be disturbed unless it's damaged or you're replacing it.
This is the more involved process, and patience matters more than strength here.
Once the button or bracket is off, you'll almost always have adhesive residue left on the glass. Left in place, it prevents a clean rebond and creates a haze that catches light at exactly the wrong moment while driving.
Start by re-applying gentle heat to soften any remaining material. Then use a fresh single-edge razor blade held at a very shallow angle — nearly flat against the glass — to scrape off the bulk of the residue. Work slowly and let the blade glide; pressing hard or using a steep angle risks scratching.
Once the bulk is gone, saturate a microfiber cloth with isopropyl alcohol (90% or higher) and rub the area in circular motions until the glass is completely clear. A clean, grease-free surface is non-negotiable if you plan to reattach a button — the new adhesive won't bond to contaminated glass.
For particularly stubborn residue, a small amount of acetone on a cotton pad works well, but follow immediately with an isopropyl wipe-down to neutralize it before any new adhesive goes on.
If you're reinstalling the same mount, let the cleaned glass surface sit for at least 15 minutes after the final alcohol wipe before applying new adhesive. Most rearview mirror adhesive kits require the glass to be at room temperature and fully dry — bonding in cold weather or direct sunlight significantly reduces adhesion strength.
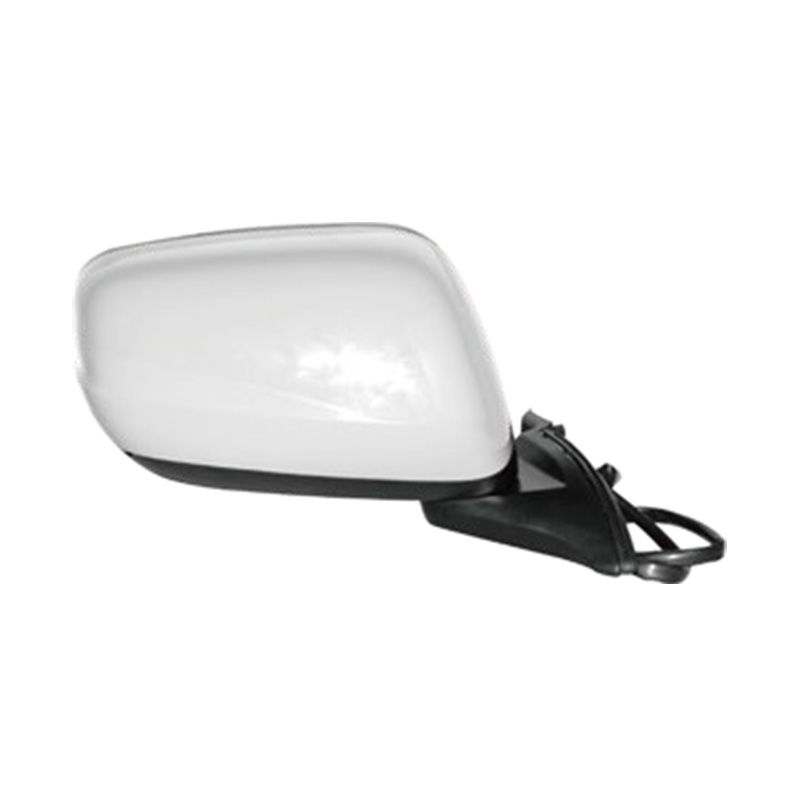
If the removal was prompted by mirror damage — a cracked housing, broken adjustment mechanism, or failed power folding motor — this is the right moment to source a replacement assembly matched to your vehicle. Getting the right mirror means matching both the vehicle model and the specific trim level, since features like heating elements, turn signal repeaters, and blind spot sensors vary within the same model line.
For Toyota owners, a wide selection of model-matched replacement auto side mirrors for Toyota models covers everything from compact sedans to full-size trucks. If you drive a Honda, browse Honda replacement side mirrors sorted by model and year. For all other makes, the full range of auto side mirror replacements by vehicle make covers the major brands with OE-compatible assemblies.

[Auto Accessories][email protected]
[Auto Parts][email protected]

+86-0571-26238568

Kangxin Road, Tangqi Town, Linping District, Hangzhou , Zhejiang , China