English
 中文简体
中文简体
 русский
 Español
[Auto Accessories][email protected]
2026-08-24
A broken side mirror is usually the result of a low-speed scrape: a parking-garage pillar, a swung-open door, or a tight driveway exit. The housing cracks, the glass shatters, or the whole unit dangles by its wiring. The good news is that replacing it is one of the most DIY-friendly jobs on a modern car. With a 10 mm socket, a plastic trim tool, and a replacement that matches your exact trim level, you can finish the installation in roughly 30 to 60 minutes and avoid a shop bill that often runs between $300 and $600. The two mistakes that turn this job into a headache are ordering the wrong variant and breaking door-panel clips, so this guide addresses those before walking through each step.
Content
Before touching any tool, identify the mirror you are replacing. A side mirror is not a generic part; the same model can use different mirrors depending on trim level, options, and model year. Note these details from the current unit:
If you still have access to the old mirror's part number, write it down before removal. Many vehicles stamp that number on the inner face of the housing or on the base plate, and it is the fastest way to confirm compatibility. You can also use your VIN when searching an online catalog, because the VIN encodes the exact trim package.
The wiring connector alone tells the story. A basic manual mirror has no connector at all, while a power-fold unit with memory and a blind-spot module carries eight or more pins, and those pins do not match a lower-trim harness. When you browse the complete side mirror assemblies catalog, filter by your vehicle's year, model, and trim instead of trusting a thumbnail photo. A housing from the wrong trim level may bolt on physically but leave you with a dead heating circuit or a turn signal that refuses to flash.
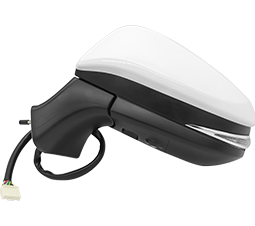 Wholesale Auto Side Mirror Suppliers, QXP MirrorProfessional Auto Side Mirror supplier and exporter in China, Hangzhou Golden Sun Autoparts Co., Ltd offer wholesale QXP Mirror and other...View Product →
You do not need a specialty shop kit, but the right hand tools make the difference between a clean removal and a shredded door panel. Gather the following before you start:
If the mirror is power-operated or heated, disconnect the negative battery cable and wait a few minutes before pulling the connector. This prevents a short circuit while you work and protects the door control module, which can be sensitive to power spikes when a harness is unplugged.
Before you begin, also inspect the new mirror for shipping damage. Cracks in the glass, a loose cap, or a bent mounting stud are much easier to see while the unit is still in its box, and a damaged mirror should be returned before you remove your door panel.
On most vehicles the mirror mounting nuts sit behind the door panel, so the inner trim has to come off first. Screw locations change between manufacturers, but the sequence stays consistent:
You will not always need to remove the whole panel. Some cars provide access holes behind the speaker grille or under a small cap, but for a first-timer, releasing the top trim is the most reliable route to the mirror nuts.
With the trim loose, the back of the mirror mount becomes visible. Almost every car holds the mirror with two or three studs and nuts on the inner door skin. Work through this sequence:
A magnetic pickup tool is worth having nearby. If a nut slips into the door cavity, you can retrieve it without tearing the weather barrier loose.
Installation reverses the removal order, but three details deserve special attention:
A clean mounting face also matters. Wipe any old sealant or dirt off the door skin where the mirror base sits, and if the paint is chipped, touch it up before fitting the new mirror so moisture does not creep under the gasket.
Connect the electrical plug before reinstalling the door panel, then test every function while the panel is off: glass adjustment in both planes, heating, turn-signal repeater, puddle lamp, and power-fold. If one function does not respond, the connector is probably not fully seated, or the mirror is wired for a different trim level, and fixing it now is much easier than after the panel is back on.
Reinstall the door panel by aligning the metal clips with their openings and pressing firmly along each edge until they click. Before you do that, however, check every plastic clip on the panel and replace any that cracked during removal; a fresh clip is far cheaper than a rattling interior. Replace the screws you set aside, but do not over-tighten them, since the plastic retainers will crack. Then lower the window, close the door, and adjust the mirror from the driver's seat.
The correct starting point shows a small sliver of the rear fender in the lower inner corner of the glass, with the horizon roughly centered. Adjust it while seated normally, not while leaning toward the window. A mirror angled too far out leaves a blind zone alongside the rear doors; one angled too far inward shows mostly the side of the car. After adjusting, take the car for a short drive and make fine corrections, because vibration will quickly reveal a mirror that is mounted too loosely.
In practice, four mistakes account for nearly every failed attempt:
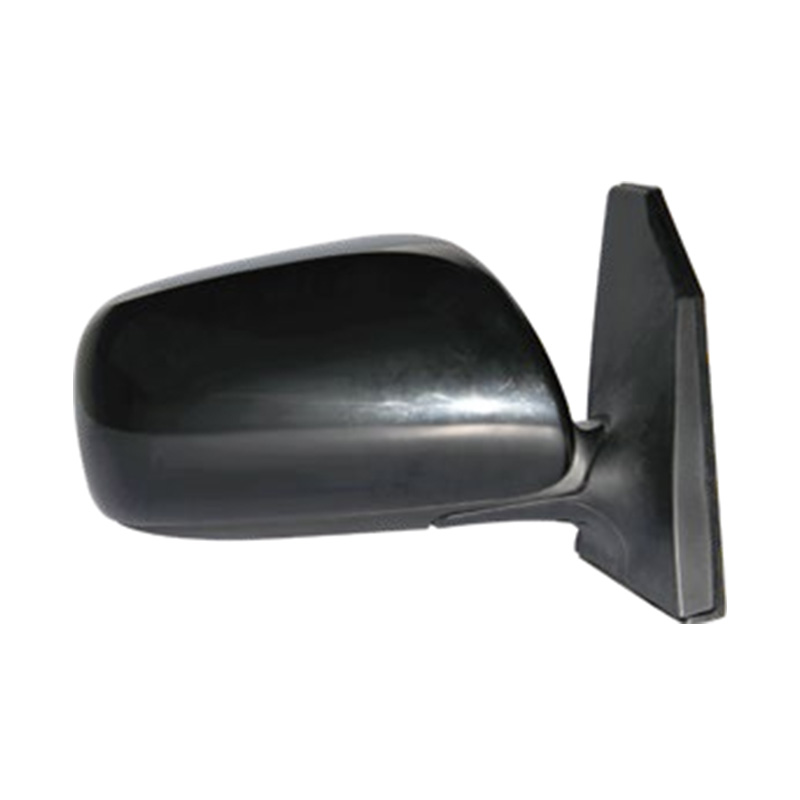 Custom TOYOTA qxp Auto Side Mirror Manufacturer, FactoryHangzhou Golden Sun Autoparts Co., Ltd is well known TOYOTA qxp Auto Side Mirror Manufacturer and factory in China, we offer custom qxp A...View Product → section label driver-side and passenger-side units, so read that label before paying.
If you skip the functional test before closing the panel, you will find the problem after the trim clips are seated, and reaching the connector again means starting over from step one.
Proper installation matters well beyond the convenience of a working mirror. Incorrectly installed or adjusted side mirrors can create serious safety hazards, ranging from loosening at speed to wiring shorts that disable the glass adjustment. The practical takeaway is simple: pick the right part, release the trim clips slowly, seat the connector completely, and verify the view from the driver's seat before closing the door.


[Auto Accessories][email protected]
[Auto Parts][email protected]

+86-0571-26238568

Kangxin Road, Tangqi Town, Linping District, Hangzhou , Zhejiang , China