English
 中文简体
中文简体
 русский
 Español
[Auto Accessories][email protected]
2026-03-24
Content
A rear view mirror that is loose, misaligned, or improperly mounted is more than an inconvenience — it is a safety hazard. A mirror that vibrates, drops suddenly, or obstructs the driver's line of sight can contribute to accidents. Whether you are replacing a mirror that has fallen off, upgrading to a wider aftermarket unit, or reinstalling one after a windshield replacement, getting the installation right the first time saves both time and money.
Most rear view mirror installations can be completed in under 30 minutes with basic tools and the correct adhesive or hardware. The key is identifying which mounting system your vehicle uses before purchasing any materials, as the procedure differs significantly between adhesive-mounted and bracket-mounted systems.
Before gathering tools or purchasing adhesive, identify which type of mounting system your vehicle uses. There are three main configurations:
This is the standard system found in the majority of modern vehicles. A small metal button — roughly the size of a shirt button — is bonded directly to the inside of the windshield glass. The mirror assembly then clips or slides onto this button via a mounting bracket. If the mirror has fallen off, the button has likely detached from the glass and will need to be re-adhered using a dedicated rear view mirror adhesive kit before the mirror can be reinstalled.
Some older vehicles, trucks, and vans use a bracket that is screwed directly into the headliner or the top edge of the windshield frame rather than bonded to the glass itself. This system is more tolerant of heavy or wide mirrors, making it common on commercial vehicles. Installation requires a screwdriver or small socket set.
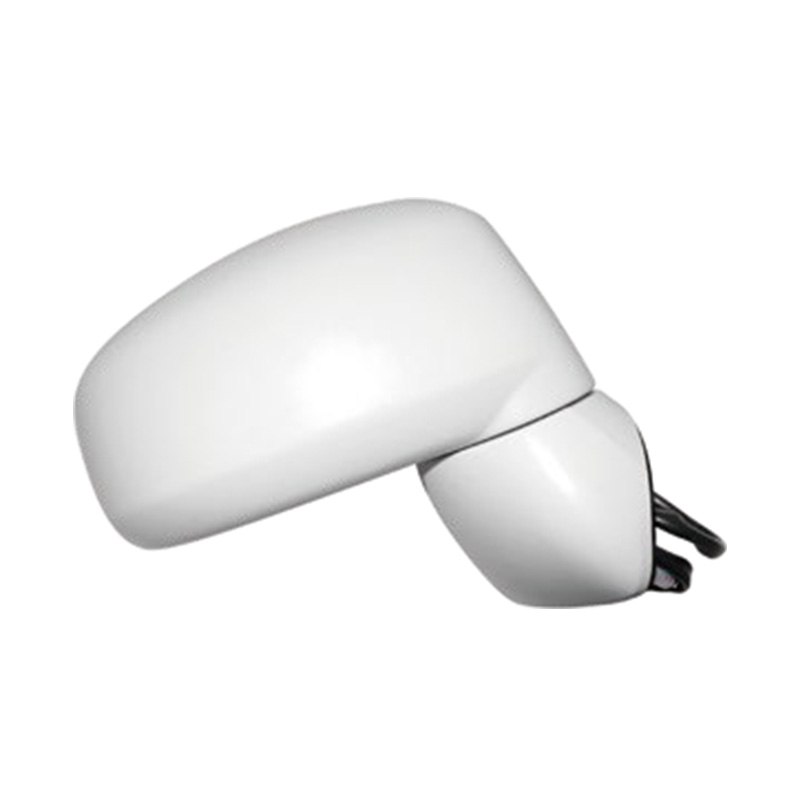
Aftermarket mirrors — including dash cameras with integrated displays and wide-angle clip-on units — typically attach via suction cups or peel-and-stick pads. These are the simplest to install but are also the least permanent. They are suitable for accessories rather than primary OEM-style mirrors.
Gather everything listed below before starting. Having the right materials on hand prevents the adhesive from curing before the button is properly positioned.
If a mirror is still attached to the windshield and needs to be removed — for example, during a windshield replacement or a mirror upgrade — follow these steps:
The following steps apply to the button-and-bracket system, which is the most widely used. If your vehicle uses a screw-to-frame system, skip to the screw-mount section below.
Sit in the driver's seat and hold the mirror in the position where it provides the best rear visibility — centered on the back window, with the lower edge of the mirror at eye level or slightly below. Have an assistant mark the center of the button footprint on the inside of the windshield using a small piece of masking tape. Alternatively, use a wax pencil on the exterior of the glass to mark the point from outside the vehicle. Precise positioning at this stage prevents the mirror from sitting too high or low, which forces the driver to tilt their head to see clearly.
Using a lint-free cloth saturated with isopropyl alcohol, clean a small area of the windshield centered on your marked position. Wipe in a single direction rather than circular motions to avoid redepositing oils. Allow the surface to dry completely — this typically takes 60 to 90 seconds. Do not touch the cleaned area with bare fingers afterward, as skin oils will weaken the adhesive bond.
Rear view mirror adhesive bonds most effectively when the glass temperature is between 60°F and 85°F (15°C to 30°C). If working in cold weather, use a heat gun or hair dryer on low heat for 30 to 60 seconds to warm the glass at the installation point. Do not overheat — the goal is to bring the glass to room temperature, not to make it hot to the touch.
Most rear view mirror adhesive kits include a two-step system: an activator applied first to the glass, followed by adhesive applied to the button. Apply the activator to the cleaned area of glass using the applicator provided in the kit. Apply a separate coat of activator to the flat bonding surface of the mounting button. Allow both surfaces to dry fully — check the kit instructions for the required drying time, which is usually 60 seconds to 3 minutes.
Apply a small amount of adhesive — typically one or two drops as specified by the kit — to the flat bonding surface of the button. More adhesive does not produce a stronger bond; excess adhesive will simply squeeze out around the edges. Press the button firmly against the marked position on the windshield and hold it in place with steady pressure for the full duration specified in the instructions, usually 60 seconds. Do not rock or slide the button once contact is made.
Do not attach the mirror until the adhesive has fully cured. Most kits specify a minimum cure time of 15 to 30 minutes before any load is applied, with full strength reached after 24 hours. Attaching the mirror too early is the single most common reason for installation failure. Leave the button undisturbed during this period.
Once the adhesive has cured, slide the mirror bracket onto the button. On most vehicles, the bracket slides downward over the button and locks in place with a set screw. Tighten the set screw snugly — firm but not overtightened, as excessive torque can stress the button bond. Adjust the mirror angle to achieve full visibility of the rear window and check that the mirror does not vibrate at highway speeds by gently tapping it.
For vehicles with a screw-mount system, align the bracket plate against the windshield header or frame, mark the screw hole positions, and drill pilot holes if required. Insert the screws and tighten evenly to avoid warping the bracket. Attach the mirror to the bracket according to the mirror manufacturer's instructions and confirm that the assembly is rigid before driving.
A correctly installed mirror should remain secure for the life of the vehicle under normal conditions. The following practices help ensure a durable result:
If the mirror falls off repeatedly despite following correct installation procedures, inspect the windshield surface at the bonding point for contamination, pitting, or damage from a previous repair. In some cases, a compromised glass surface at that location will prevent a durable bond regardless of the adhesive used, and the bonding point may need to be relocated slightly — typically an inch or two higher or to one side — to reach undamaged glass.

[Auto Accessories][email protected]
[Auto Parts][email protected]

+86-0571-26238568

Kangxin Road, Tangqi Town, Linping District, Hangzhou , Zhejiang , China