English
 中文简体
中文简体
 русский
 Español
[Auto Accessories][email protected]
2026-07-13
Content
Run a fingernail across the mark. If the nail glides over it without catching, the damage sits on the surface of the glass and can usually be reduced at home. If the nail snags or drops into a groove, the scratch runs deeper than the coating, and no amount of rubbing will make it disappear.
This five-second check saves a lot of wasted effort. Surface scratches respond to mild abrasives. Deep ones need professional polishing or a full glass replacement, and pushing harder with the wrong product just widens the damage.
Two other signs matter here. A scratch that looks smooth and catches light evenly is likely shallow. One with black flecks, a cloudy edge, or a spot where the reflection seems to disappear has probably reached the silver backing underneath the glass, and home remedies won't touch that.
Dust and grit trapped in a scratch act like sandpaper every time a cloth passes over it, so cleaning always comes before repair. Spray glass cleaner onto a microfiber cloth rather than directly on the mirror, then wipe in long, even strokes.
Dry the surface completely with a second clean cloth before starting any repair method. Anyone in a hard-water area should switch to distilled water for this step, since mineral deposits left behind can mimic a scratch under bright light and make it harder to judge progress.
Plain white, non-gel toothpaste contains mild abrasives that were originally designed to polish tooth enamel, and the same mild grit works on glass. Skip anything with gel, whitening beads, or added color.
If the mark is still visible after three passes, the scratch is past what toothpaste can handle. Move on to a stronger method rather than continuing to rub.
Baking soda carries a bit more bite than toothpaste, which makes it the next step up for scratches that are visible but not deep enough to catch a fingernail.
Always test on an inconspicuous corner first. Baking soda is gentle by household standards, but it can still leave fine haze on some mirror coatings if overused.
Nail polish doesn't remove a scratch so much as hide it. The polish settles into the groove and levels out the surface so light no longer catches the edge of the damage the way it did before.
Clean and dry the area first, then apply a thin coat of clear polish directly over the scratch and let it sit for about an hour. Wipe away any excess with a cloth dampened in nail polish remover, working carefully around the edges rather than across the whole mirror.
Skip this method on antique mirrors or mirrors with a decorative coating, since the remover can strip finishes that toothpaste and baking soda would never touch.
Cerium oxide is the compound glass shops actually use for scratch polishing, and small tubs of it are sold for home use alongside general metal polish. Both work the same way: a fine abrasive on a soft pad, applied with patience rather than pressure.
Watch for haze or warmth building up under the pad. Both are signs to stop immediately, since continued buffing at that point clouds the glass instead of smoothing it. A light film left behind afterward can usually be cleared with a vinegar-and-water rinse rather than more polishing.
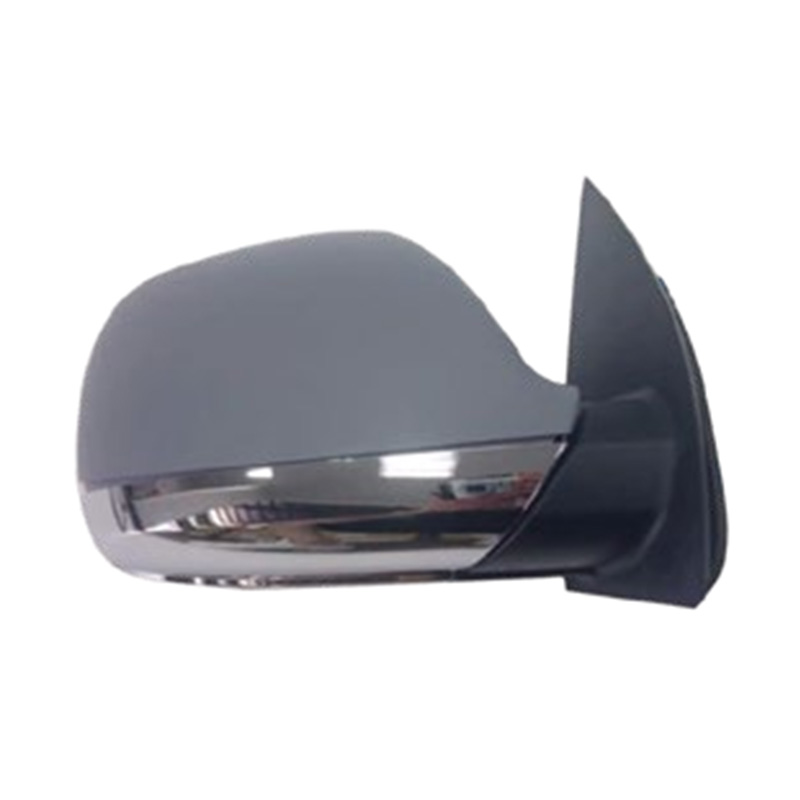
Household glass and automotive side mirrors aren't quite the same thing, and treating them identically causes problems. Many modern side mirror glass panels carry a heating element for defrosting, an anti-glare coating, or a laminated blind-spot lens bonded to the surface. Aggressive buffing with metal polish or steel wool can scrub through these layers, and once that coating is gone, it doesn't come back.
There's also a visibility angle that a bathroom mirror doesn't have to think about. Side mirrors exist to give the driver a clear, distortion-free view of the lane behind and beside the vehicle, and how side mirrors reduce blind spots and improve driving safety depends on that reflection staying sharp. A scratch that hazes the glass or scatters light, especially at night, can genuinely reduce how much a driver can see in that mirror.
In the United States, exterior mirror performance is covered under Federal Motor Vehicle Safety Standard No. 111 on rearview mirror visibility, which sets field-of-view requirements for the mirrors a car ships with. A single light scratch won't put a vehicle out of compliance, but a mirror covered in haze, pitting, or filled-in polish residue can genuinely start to work against that visibility requirement rather than for it.
For a light surface mark on a side mirror, toothpaste or a very light pass of baking soda paste is a reasonable place to start. Skip the nail polish and steel wool on any mirror with a heating element or camera housing built into the glass.
Some damage is beyond what a cloth and a tub of toothpaste can fix, and knowing when to stop saves both time and the mirror itself.
| Sign | Why It Matters |
|---|---|
| Fingernail catches in the groove | Damage runs deeper than surface polishing can reach |
| Black spots or flecks near the scratch | Usually means the silver backing has been compromised |
| Reflection distorts or wobbles | Signals the glass or backing layer has separated |
| No improvement after two rounds of polishing | Further buffing risks clouding the glass rather than fixing it |
For a cracked side mirror glass panel, a housing that's split, or a mount that's failed rather than just scratched, what a mirror fix kit repair actually involves is worth reading before buying anything, since the right kit depends entirely on which part of the mirror actually failed.
When the glass itself is too far gone, replacing just the mirror panel or the full assembly is usually more practical than continuing to chase a scratch that won't buff out. A range of OEM-matched replacement side mirror assemblies covers most major makes and models for cases where the damage has gone past what any polish can fix.


[Auto Accessories][email protected]
[Auto Parts][email protected]

+86-0571-26238568

Kangxin Road, Tangqi Town, Linping District, Hangzhou , Zhejiang , China