English
 中文简体
中文简体
 русский
 Español
[Auto Accessories][email protected]
2026-09-14
You start the car on a cold morning, the windshield fogs over, and the defroster barely clears a palm-sized patch. That pattern is almost never a mystery: the defroster is a chain of separate components, and a repair usually comes down to one weak link in the front HVAC system or a damaged electrical grid on the rear glass. With a small set of tests and a few common parts, most of these jobs are within reach of a careful home mechanic.
Content
The front defroster works by directing warm, dry air onto the windshield. The heat source is the heater core, a small radiator mounted in the dash. Engine coolant flows through it, and the blower motor pushes cabin air across it. In most vehicles, a series of electronically controlled doors and actuators routes that air to the defroster vents when you select the defrost mode.
Three conditions must be present for the front defroster to work: enough hot coolant reaching the heater core, a blower motor that moves enough air, and a functioning door that actually sends that air to the windshield. The thermostat plays a supporting role here. If the thermostat sticks open, the engine never reaches operating temperature, the coolant stays cool, and the heater core cannot produce warm air even though every other component works.
Work backward from what you see. The table below covers the most frequent front defroster complaints, the parts most likely to be responsible, and the repair that usually resolves them.
| Symptom | Likely cause | Typical repair |
|---|---|---|
| Defroster blows weakly on all settings | Blower motor, blower motor resistor, or clogged cabin air filter | Replace the motor or resistor; replace the filter |
| Air flows but stays cool | Low coolant, air pocket in the heater core, or thermostat stuck open | Top up coolant and bleed the system; replace the thermostat |
| No airflow at all on any mode | Blown fuse, failed blower motor, or faulty switch | Test power at the motor; replace the failed part |
| Air comes out of floor or panel vents instead of the windshield | Broken mode door actuator or vacuum control line | Replace the actuator; inspect vacuum lines |
| Defroster only works on the highest fan setting | Failed blower motor resistor | Replace the resistor pack |
The blower motor is the most frequently replaced front-defroster component. It runs every time the HVAC is on and sits in a dirty, humid location behind the dash. Worn brushes or bearings reduce airflow gradually, so the defroster appears weaker over months rather than failing all at once.
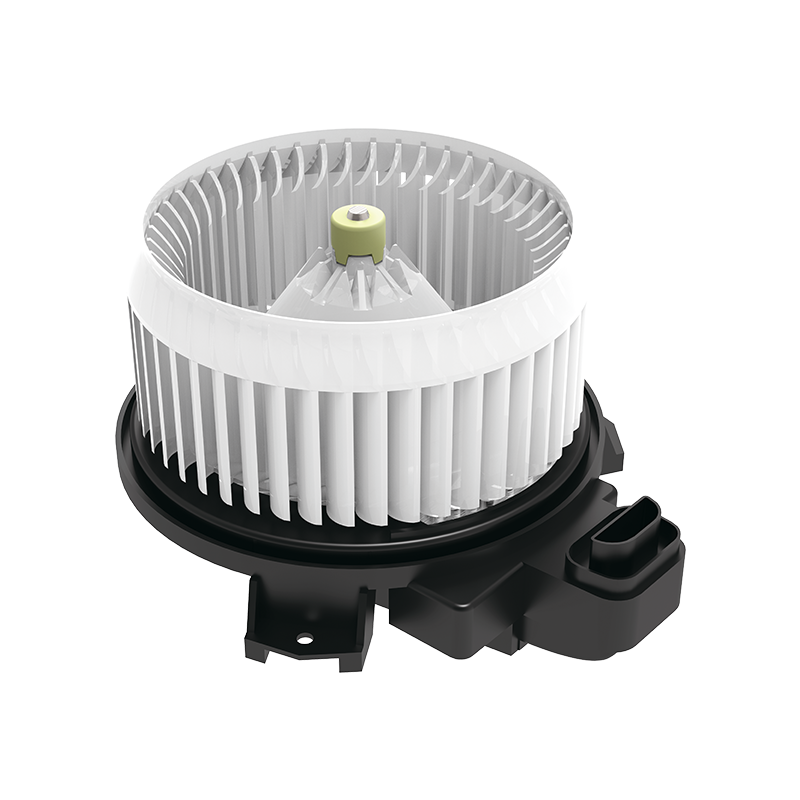 HVAC Heater Blower Motor for Climate Control SystemsThis component circulates air through the heater core and evaporator, directly affecting defroster airflow. Worth checking if interior ventilation seems weak, as it is a common cause of gradual defroster decline.View Product →
Coolant level is the second most common cause. The heater core sits above the engine in most layouts, which means a small leak or an air pocket in the cooling circuit starves the core before the temperature gauge shows any problem. Check the coolant when the engine is cold, and bleed the system according to the vehicle service procedure.
The rear defroster is a different system entirely. A grid of thin conductive lines, baked onto the inside surface of the rear glass, carries electrical current and produces heat. Frost or fog disappears band by band as the lines warm. The grid is fragile, and it is the most common point of failure in the system.
One broken grid line shows up as a straight mark across the glass where the fog never clears. Conductive silver paint or a specialized rear defogger repair compound fixes small breaks. Clean the damaged area thoroughly, mask off both sides of the line to keep the repair narrow, apply the compound in a thin, even coat, and allow it to cure completely before testing. A break up to about 2 mm wide can be bridged this way.
When an entire band of lines stays fogged, the fault is usually a loose tab at the edge of the glass where the wiring connects. Do not use regular glue; the joint needs to carry current. Apply the same silver-loaded compound, or solder the tab with a low-temperature iron designed for glass contacts. The surface must be dry and free of oil for the bond to conduct.
If no lines warm up, check from the source down: the fuse, the relay, and the switch or timer. Use a multimeter to confirm voltage at the glass tabs. If voltage is present but the grid stays cold, inspect all the lines for multiple breaks; a grid circuit can fail completely when several lines are interrupted and the current has no complete path.
A conductive repair kit is the right call for a single small break or a detached tab. It is not the right call for a large delaminated section, a grid with multiple breaks, or glass that is cracked across the lines. In those cases replacement glass is the reliable option, because the repair compound will not restore the original current capacity over a large area.
For the front system, the same judgment applies. A heater core that leaks or is severely clogged is a major dashboard job on many models, so verify the diagnosis first with a coolant pressure test and a flush. A blower motor, by contrast, is usually accessible and quick to replace, and it is almost always cheaper to install a new motor than to attempt rebuilding the old one.
When buying replacement parts for an HVAC circuit, match the original specifications rather than chasing the lowest price. A condenser and blower motor selected for the vehicle's connector layout, voltage range, and mounting dimensions install cleanly and avoid the electrical issues that come from generic cross-reference parts. For cooling-system components, OE-style construction matters because the heater circuit shares its coolant with the radiator:
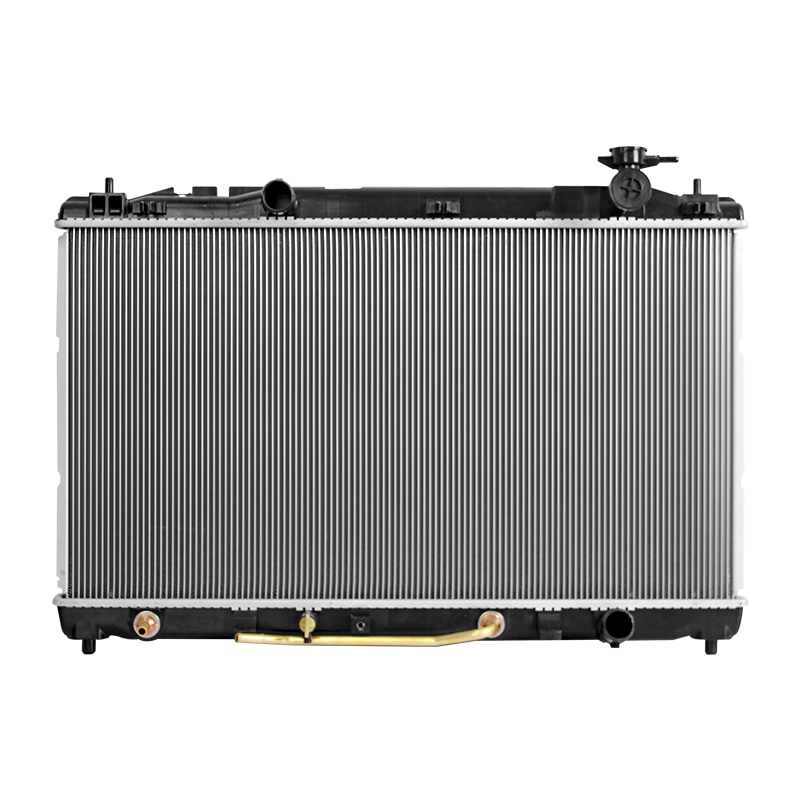 HVAC Auto Radiator for Engine Cooling SystemsSuitable when replacing cooling-system parts, this radiator regulates engine temperature and shares coolant with the heater circuit. OE-style construction matters for proper fit and preventing repeated failures.View Product →
A defroster repair is a good excuse to check related components that fail quietly. While the blower motor is out, inspect the cabin air filter and the blower resistor pack, since both wear at similar rates. While the coolant system is open, inspect hoses and clamps for age cracks. These checks cost a few minutes and prevent the same repair from being repeated a month later.
The condenser also plays a direct role in how quickly the windshield clears. Running the A/C compressor during defrost mode removes humidity from the air before it hits the glass, which is why most cars engage the compressor automatically in defrost. A condenser that is blocked or leaking reduces that dehumidifying effect. See how engine cooling fans operate for a closer look at the fan that keeps the cooling system stable in winter too.
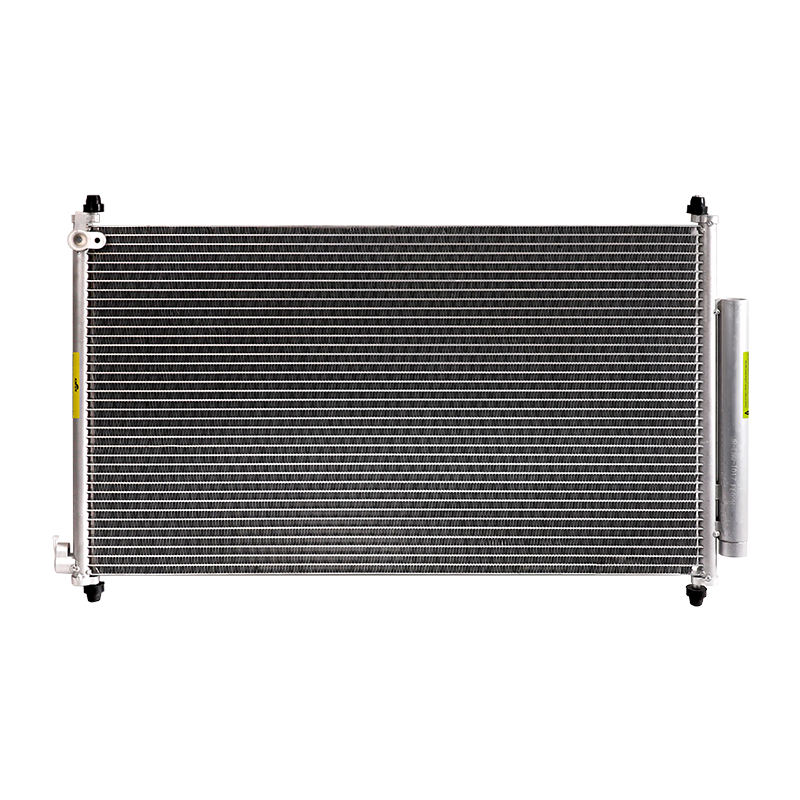 HVAC Auto Condenser for Air Conditioning and DefrostingThe condenser cools refrigerant vapor and supports defrost mode dehumidification. A blocked or leaking condenser reduces windshield clearing performance, making it relevant when addressing defroster issues.View Product →
Keep a multimeter, a bottle of conductive rear-defogger repair compound, and a copy of the vehicle wiring diagram handy, and most defroster repairs become predictable afternoon jobs. For a broader look at how the wider HVAC system supports cabin comfort and driving safety, see this overview of HVAC systems in modern vehicles. And if you are replacing rather than repairing, choose quality parts that match the original specifications; reliable defrosting starts with the right hardware.


[Auto Accessories][email protected]
[Auto Parts][email protected]

+86-0571-26238568

Kangxin Road, Tangqi Town, Linping District, Hangzhou , Zhejiang , China