English
 中文简体
中文简体
 русский
 Español
[Auto Accessories][email protected]
2026-06-22
Content
Most drivers adjust their mirrors immediately after sitting down, before settling into their actual driving position. That single mistake undermines everything that follows. A mirror set while you are sitting upright at an unusual height, or before the seat is pushed forward to reach the pedals, will be misaligned the moment you start driving.
The correct sequence is always seat first, then mirrors. Adjust the seat so you can comfortably reach the pedals with a slight bend in the knee, the steering wheel is within easy reach without leaning forward, and your head is roughly centered between the headliner and the seat cushion. Only once you are in this position — the position you will hold for the entire drive — should you touch the mirrors.
This matters because mirror angles are relative to your eye position. A two-inch difference in seat height changes what you can see in either mirror by several feet at highway distance. The safety hazards that arise from improperly adjusted mirrors are not theoretical — misalignment is a primary contributor to the blind spots responsible for a significant share of lane-change collisions every year.
With your seat set, lean your head toward the driver-side window until it nearly touches the glass. From this position, adjust the mirror outward until you can just barely see a thin sliver of your own vehicle's rear quarter along the mirror's inner edge. This sliver — roughly the width of a door handle — acts as a reference point for spatial positioning without wasting mirror coverage on bodywork you already know is there.
For the vertical angle, aim to place the horizon line — where road surface meets sky — roughly in the center of the mirror. Too much sky means you are missing the critical zone behind and beside the vehicle. Too much road surface means you are losing sight of vehicles approaching from a distance. If you are driving in hilly terrain or on elevated roads, adjust slightly to favor road surface over sky.
Return to your normal seated position and check the view. You should see a continuous sweep of the lane beside you and the lane behind, with just that thin vehicle edge visible. If you can see a significant portion of your own car's side panel, the mirror is angled too far inward and your blind spot is larger than it needs to be.
The passenger-side mirror follows the same logic but requires a different head position to set correctly. Instead of leaning toward the window, lean toward the center of the vehicle — roughly toward the center console — until your head is approximately above the gearshift. From this position, adjust the mirror outward until you again see just a thin sliver of the vehicle's rear quarter panel along the mirror's inner edge.
Because you sit on the opposite side of the car, this outward lean shifts the mirror's coverage further to the right compared to what you will see from the driving seat. That offset is intentional — it extends the mirror's coverage into the passenger-side blind zone that would otherwise be invisible without a shoulder check.
Vertical alignment follows the same rule: horizon centered in the mirror frame. One additional consideration on the passenger side is parking visibility. When maneuvering into a parallel space or a tight curb, tilting the passenger mirror slightly downward allows you to see the curb line clearly. Some vehicles offer a dedicated "reverse tilt" function that does this automatically when reverse gear is selected, then returns to the standard position when drive is engaged.
There are two widely recognized approaches to side mirror adjustment, and they produce meaningfully different results. Understanding both lets you choose the one that suits your vehicle and driving habits.
The standard method — recommended by most national driving guides — places the mirror so you can see a small portion of the vehicle's side. This creates a slight overlap between the rearview mirror and each side mirror, giving you a consistent spatial reference. The trade-off is a larger blind spot on each side, which must be covered by shoulder checks before every lane change.
The SAE blind-zone technique, developed through research published by the Society of Automotive Engineers, angles the mirrors significantly further outward. The goal is to eliminate the blind spot entirely by ensuring that a vehicle exiting the rearview mirror's coverage immediately enters one of the side mirrors. In this configuration, you cannot see your own vehicle in the side mirrors from the normal driving position at all. The blind spot shrinks to near zero, but the spatial reference point disappears — some drivers find this disorienting initially, particularly when parking.
| Feature | Standard Method | SAE Blind-Zone Technique |
|---|---|---|
| Vehicle edge visible in mirror | Yes — small sliver | No |
| Blind spot size | Moderate | Minimal to none |
| Spatial parking reference | Good | Reduced |
| Shoulder check still needed | Yes | Recommended but less critical |
| Best suited for | Most drivers; vehicles with limited rearview visibility | Highway driving; experienced drivers |
NHTSA research on lane-change crashes and near-crashes consistently identifies blind spot failure as a leading contributing factor. Either method is an improvement over the common habit of angling mirrors primarily to see your own car — the default that maximizes blind spot coverage rather than minimizing it. For a broader view of how side mirrors contribute to overall driving safety, the key factor is not which method you use but how consistently and correctly you apply it.
Standard mirror settings are calibrated for moving traffic. Several common driving situations benefit from deliberate adjustments beyond the default position.
Parallel parking and tight reversing: Before reversing into a parallel space, tilt the passenger-side mirror downward approximately 15 degrees. This gives you a clear view of the curb and the rear corner of the vehicle — the two reference points most critical for avoiding wheel contact. Return the mirror to the standard position once parked. If your vehicle does not have automatic reverse tilt, develop the habit of manually adjusting before and after each parallel maneuver.
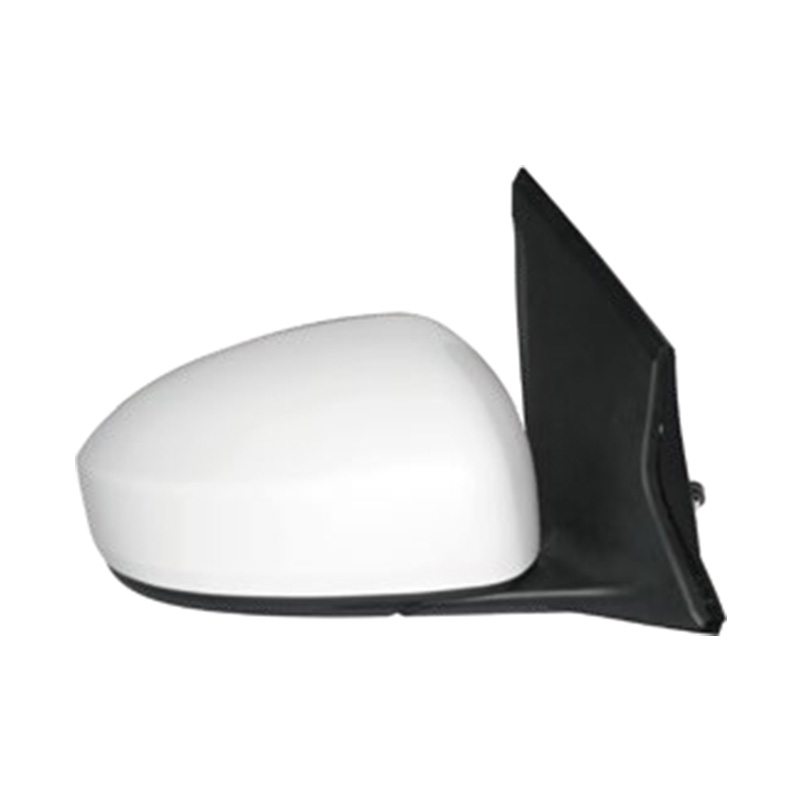
Towing a trailer: A standard side mirror provides almost no useful rearward visibility when a trailer is attached. For occasional towing, clip-on towing mirror extensions that attach to the existing mirror housing are a practical solution. For regular towing, replacing the side mirrors with larger tow mirrors — which extend further outward and offer a wider field of view — provides substantially better coverage. If you frequently tow with a specific vehicle, replacement auto side mirrors for Toyota models and Honda replacement side mirrors are available in tow-ready configurations that mount in the same position as the stock unit.
Night driving and headlight glare: Most rearview mirrors have a manual or automatic anti-glare mode; side mirrors generally do not. If headlights from a following vehicle create significant glare in your side mirrors, slightly tilting each mirror downward a few degrees reduces the reflected light while maintaining enough rearward visibility to monitor traffic. Auto-dimming side mirrors, available on many newer vehicles, handle this automatically.
Blind spot monitoring (BSM), lane change assist, and cross-traffic alert systems have become standard features on vehicles produced after the mid-2010s. These systems use radar or camera sensors to detect vehicles in zones that mirrors do not fully cover and alert the driver with a light in or near the side mirror housing. They are genuinely useful — but they are supplements to correct mirror adjustment, not substitutes for it.
A well-adjusted mirror still provides faster visual information than a warning light in most lane-change situations. BSM systems have detection thresholds — they typically activate when a vehicle is within a set distance alongside the car — and they can fail to detect motorcycles, cyclists, or objects at the edges of their sensor range. Correct mirror adjustment eliminates blind spots that BSM was never designed to cover, including the zone immediately alongside the vehicle that becomes visible only when mirrors are set using the SAE technique.
One practical consideration with modern vehicles: electric mirror adjustment with memory settings means your mirror positions can be saved to a driver profile. If multiple people drive the same vehicle, using this feature ensures your settings are restored the moment your seat position is recalled. Without it, checking and resetting mirrors every time someone else has driven the car is a necessary step. The complete range of OEM-style auto side mirrors available for most makes includes both manual and power-adjustable configurations, with heated and auto-folding variants suited to different climates and parking environments.
Finally, mirror position should be verified any time you notice a change in your driving posture — after carrying a heavy load that compresses the seat, after switching from winter boots to lighter footwear that changes pedal reach, or after any physical change that alters how you sit. Five seconds of verification before pulling out is a simpler habit than managing the consequences of a blind-spot collision.

[Auto Accessories][email protected]
[Auto Parts][email protected]

+86-0571-26238568

Kangxin Road, Tangqi Town, Linping District, Hangzhou , Zhejiang , China