English
 中文简体
 русский
 Español
[Auto Accessories][email protected]
2026-10-26
A mirror that buzzes at highway speed, a mounting button that let go on a hot afternoon, or a cracked housing after a light knock in a parking lot: these are the three situations that send most people looking for a replacement. Here is the short answer before the details. Replacing a rear view mirror is usually a 20 to 90 minute job, but the method splits into two completely different workflows. An interior mirror hangs on a small steel button bonded to the windshield. An exterior side mirror bolts to the door shell and often carries heating, power folding, memory and camera wiring. Identify which one you are dealing with first, because the tools, the fasteners and the failure risks share almost nothing in common.
Content
The word "rear view mirror" covers both parts in everyday speech, and parts sellers use the same phrase loosely. Before you order anything, confirm the mounting style. Getting this wrong is the most common reason a replacement sits unused in its box.
| Factor | Interior rear view mirror | Exterior side mirror |
|---|---|---|
| Mounting point | Steel button bonded to the windshield glass, or an overhead bracket | Door skin or sail panel, usually three bolts |
| Typical fasteners | Torx T20 or 3 mm Allen set screw | 10 mm bolts, plastic clips, one or two harness connectors |
| Wiring | Optional: auto-dim, rain sensor, forward camera | Common: heating, power fold, turn signal, memory, camera |
| Working time | 20 to 30 minutes | 45 to 90 minutes per side |
| Main risk | Cracking the windshield or snapping the button | Breaking trim clips, scratching paint, camera recalibration |
If your mirror is the small rectangular unit at the top center of the glass, read the interior section. If it is the unit on the door, jump to the exterior section.
Do a dry fit first. Slide the new mirror down onto the button until the set screw lines up, then snug the screw to roughly 1.5 to 2 Nm. That is barely more than finger tight plus a quarter turn. Over-tightening is a known cause of cracked buttons and cracked mirror castings, and it is far more common than under-tightening.
Reconnect the harness, then tuck the wire so it cannot chafe against the headliner or pull tight when the mirror is adjusted. If you fitted a new button with adhesive, respect the cure time on the packet, typically 24 hours at room temperature before hanging the mirror. Adhesive applied below about 10 degrees Celsius or above 30 degrees Celsius often fails within weeks, so move the car into a garage or wait for milder weather.
You can replace just the glass or the whole assembly. Glass-only replacement makes sense when the housing, motor and wiring are healthy. Whole-assembly replacement is the better call when the folding mechanism is loose, the housing is cracked, or the connector is corroded.
Tilt the glass fully down to expose the top edge, slide a plastic wedge behind it, and release the retaining clips working around the perimeter. Unclip the two heating spade connectors on the back of the glass before pulling it clear. When fitting the new glass, press the center until the clips click, then reconnect the heaters. If the car has a camera-based driver assistance system, a mirror assembly swap usually requires a static or dynamic recalibration, so budget for a scan tool session or a workshop visit.
Once the new mirror is mounted, take five minutes to reset the view properly; the correct procedure for setting the field of view is set out in this guide to adjusting auto side mirrors for optimal visibility. A correctly mounted mirror that is badly aimed still leaves a blind spot.
Match the part to the vehicle rather than to a photo. Use the VIN or the exact model, year and trim, then confirm four things: the mounting style, the connector pin count, the feature list and the housing finish. Textured black, primed and painted caps are not interchangeable without extra paint work. For interior mirrors, confirm whether the car uses a wedge button or a bayonet-style base, and whether the original unit carries a rain sensor or camera that must move across to the new part.
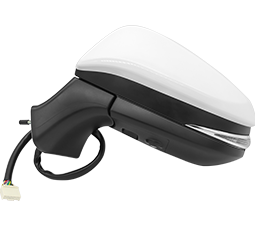 QXP Auto Side Mirror Range for Multiple Vehicle BrandsBrowse brand-organized side mirror options for Toyota, Lexus, Honda, Nissan, Mazda and others, with OEM-matching and aftermarket choices for exterior replacement.View Product →
For exterior replacements, a catalog organized by vehicle brand shortens the search considerably, because mirror housings, glass curvature and connector layouts are shared across model families rather than across years alone. Checking the brand-specific listing first avoids the usual guesswork about folding type and heater wiring.
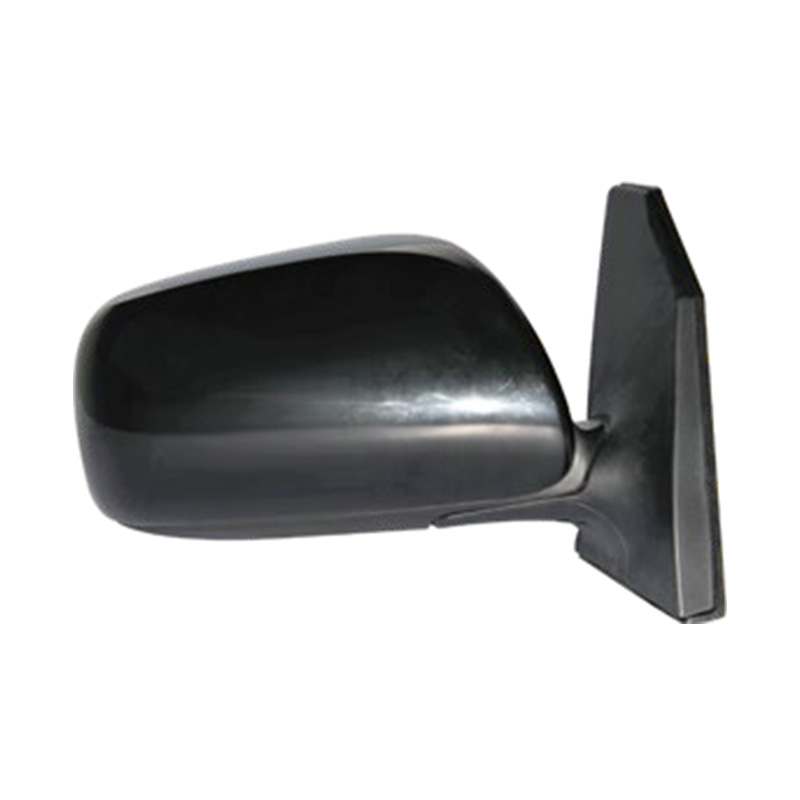 Toyota QXP Side Mirror Assemblies by Model and YearBrowse Toyota Corolla, Camry and Levin side mirror assemblies with varied pin counts, fitment sides and OE references for precise replacement selection.View Product →
Buy from a supplier who lists the features explicitly, and keep the old unit until the new one is fitted and tested. A mirror that physically bolts on but leaves the heating or folding circuit dead is a return, not a repair, and the cost of that mistake is your time plus a second round of trim removal.
Replacement itself is rarely the hard part. The hard part is buying the right variant in the first place and applying the correct torque and adhesive discipline once the part is in hand. Confirm the mount, confirm the connector, work with plastic tools near glass, and test every electrical function before the trim goes back on. Do those four things and a mirror swap stays a straightforward afternoon job rather than a trip to the glass shop.


[Auto Accessories][email protected]
[Auto Parts][email protected]

+86-0571-26238568

Kangxin Road, Tangqi Town, Linping District, Hangzhou , Zhejiang , China