English
 中文简体
中文简体
 русский
 Español
[Auto Accessories][email protected]
2026-10-10
Content
A 2016 Silverado 1500 owner orders a pair of tow mirrors online, spends Saturday pulling both door panels, bolts them on, then finds the turn signal plugs have nowhere to go. The truck was built with DL8 mirrors (heated, power, manual fold) and the new mirrors expect a DL3 harness. The mirror fits the door perfectly. It just does not work.
Conclusion first: on nearly every Chevy Silverado, one side mirror comes off and goes back on in 30 to 60 minutes with ordinary 7 mm and 10 mm hand tools. What decides whether that is one hour or one weekend is matching three things before you order: the truck's generation, its cab and trim level, and the mirror option code printed on the glovebox sticker.
GM kept the three-stud mounting pattern fairly consistent for years, which is exactly why so many wrong mirrors get sold. The housing looks right; the harness is not. Narrow your truck down with the table below before you shop.
| Generation | 1500 model years | How the mirror attaches | Check before ordering |
|---|---|---|---|
| GMT800 | 1999-2006 | Three studs through the door skin, nuts from inside | Manual or power glass; door clips are brittle with age |
| GMT900 | 2007-2013 | Three studs; a few trims use a hook plus bolts | First generation with common power fold and turn signal |
| K2XX | 2014-2018 | Hook plus two or three bolts, depending on trim | Heat, turn signal, puddle lamp and power fold each change the harness |
| T1XX | 2019 and newer | Bolt-on bracket at the door | Higher trims may add cameras or sensors; verify the option code first |
Then read the SPID label inside the glove box. Codes such as DL8, DL3, DPN and DQS each describe a different mix of power glass, heat, turn signal, puddle lamp and power folding. Order by that code and by year range, not by the photo in a listing.
The sequence below covers the 2007-2018 trucks and follows the same logic on newer ones; the exact number of panel screws varies by trim.
Feature count, not housing shape, is what a connector carries. A basic power mirror uses two or three pins. Add heated glass and you gain dedicated heater wires. Add a turn signal, a puddle lamp or power folding, and the pin count climbs further. A mirror with more features than the truck supports will bolt on and leave dead functions; a mirror with fewer features leaves unused wires in the door, which is harmless but means you paid for nothing.
Two details catch people out. On many Silverado trucks the outside temperature sensor lives in the passenger-side mirror, so if the dash goes blank after the swap, check that sensor and its wiring before blaming the cluster. And retrofitting power folding to a truck that left the factory without it usually needs the door switch and, on some builds, module programming, so buy power fold only when the wiring already exists.
Tow mirrors are taller, wider and often telescoping, and they give a far better view down the side of a trailer. If you tow more than a few times a month, that extra glass earns its keep. The trade-off is real, though: wider housings add wind noise, sit closer to garage pillars, and on some trucks take a slice out of the view past the A-pillar. A tow mirror with a weak detent can also fold back at highway speed, which is a safety problem rather than an annoyance.
For a daily driver that rarely sees a trailer, a standard-width replacement keeps the factory look, the quieter cabin and often a lower price for the same quality of glass and motor.
When you inspect a replacement, run the glass through its full range by hand and listen to the motor. A firm, quiet gear train and evenly coated glass are what separate a mirror that lasts from one that whistles and shakes within a year.
Because Silverado mirrors change so much between generations, the safer suppliers are the ones running separate tooling for each year range instead of one housing with adapter brackets. When comparing listings, ask for the application list, the connector pin count, and whether the mirror includes heat, turn signal, puddle lamp and power fold. A supplier who can answer in those terms is usually the one whose mirrors come back fitting correctly.
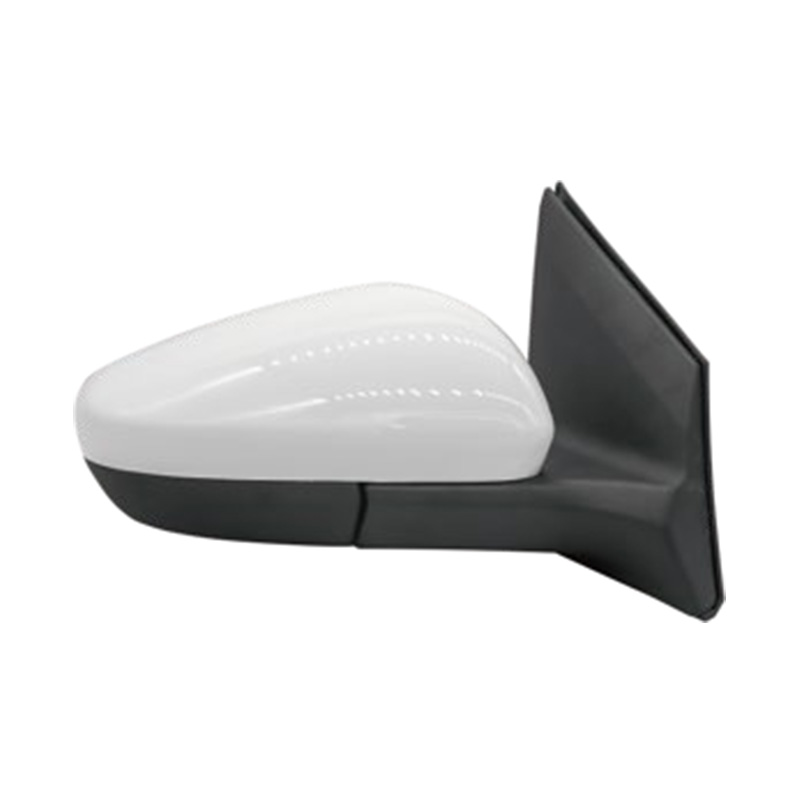 Chevrolet Side Mirror Category by Model and YearThis Chevrolet side mirror category lists custom mirrors by vehicle application, model codes, left/right side, and OE references for comparing fitments across multiple models.View Product →
For Chevrolet applications in particular, the qxp auto side mirror line is organized by brand and model year, so a 2007-2013 truck and a 2014-2018 truck can each be matched without guessing at the housing.
Once the mirror is on and working, spend five minutes on alignment instead of two seconds. Set the glass so a thin sliver of your own truck's body is just visible along the inner edge; that reference makes it obvious when the mirror has been bumped or folded. If you want the full procedure, this guide on adjusting side mirrors for optimal visibility walks through the horizon line and blind-spot overlap on both sides.


[Auto Accessories][email protected]
[Auto Parts][email protected]

+86-0571-26238568

Kangxin Road, Tangqi Town, Linping District, Hangzhou , Zhejiang , China